Studio replaces the label software on that one PC
Changing a label normally means finding the one PC with the label software on it, and the one colleague who knows how it works. Studio is a page in the browser instead: you design, everyone prints, and the same template works on a label printer and a receipt printer.
Inside Studio
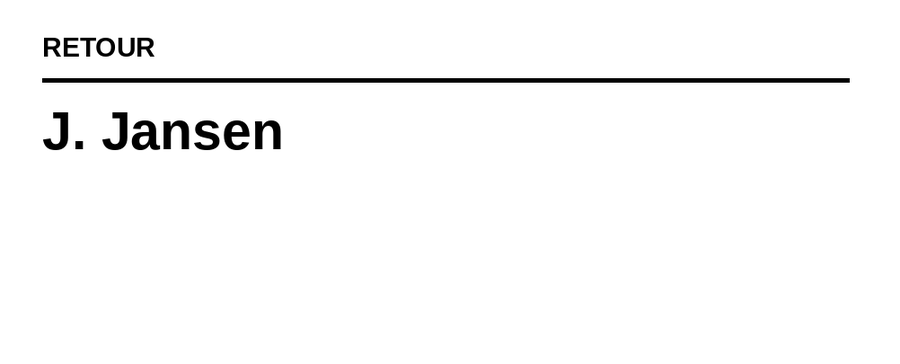
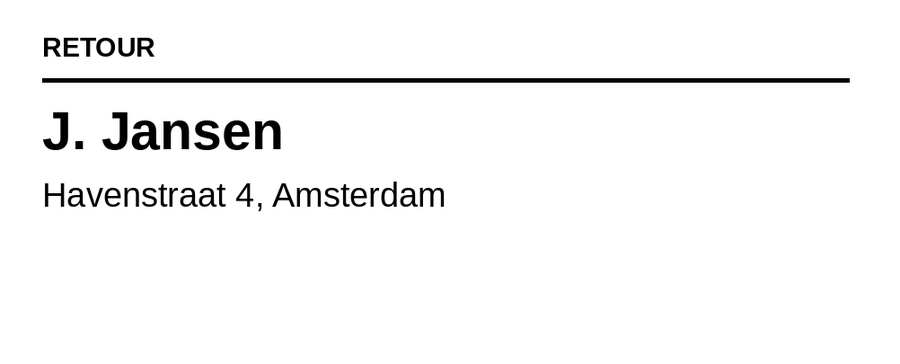
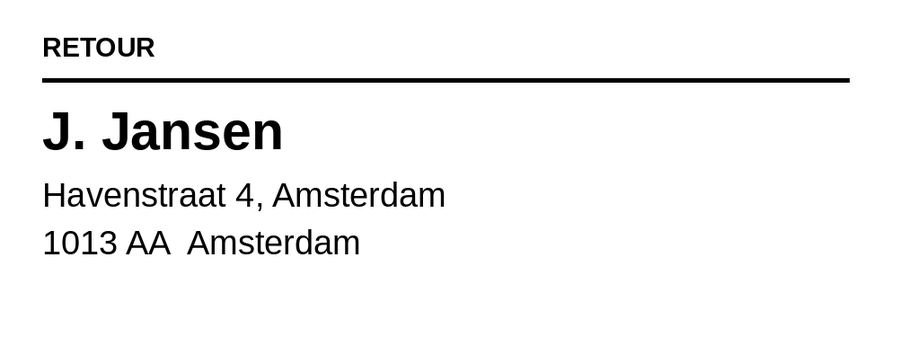
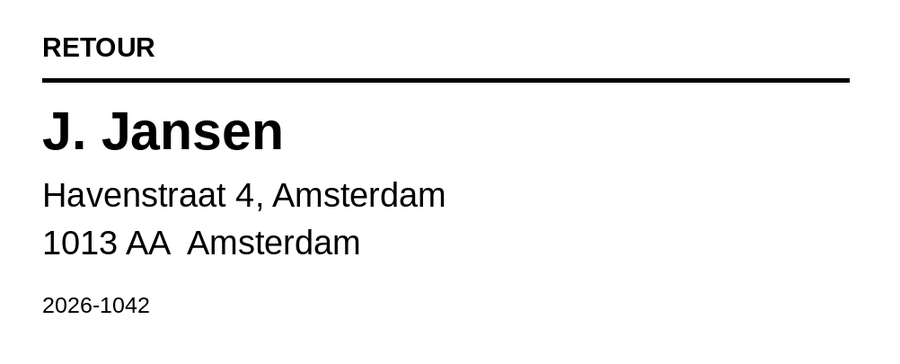
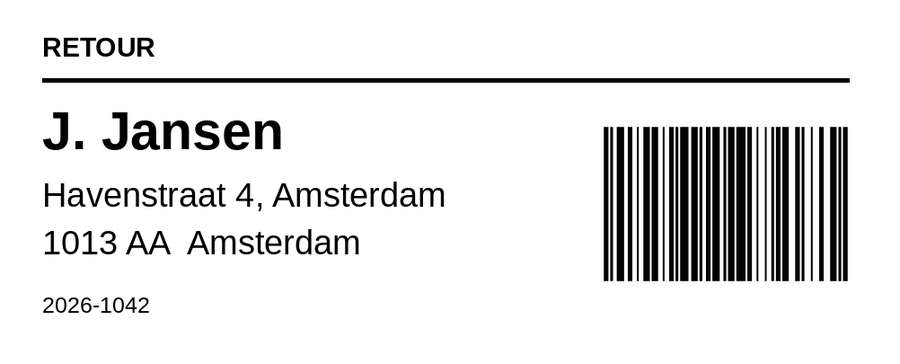
A return label, built element by element. {{name}} and {{address}} are variables: your software sends them with the print job, or someone fills them in from the dashboard.

What the manufacturer’s software cannot do
It arranges itself
Put elements in a row or a column and they keep their spacing when the content changes — the same rules as CSS flexbox, on a label. A width can be a measurement, a share of the space, or “fill whatever is left”.
Fields, and lists
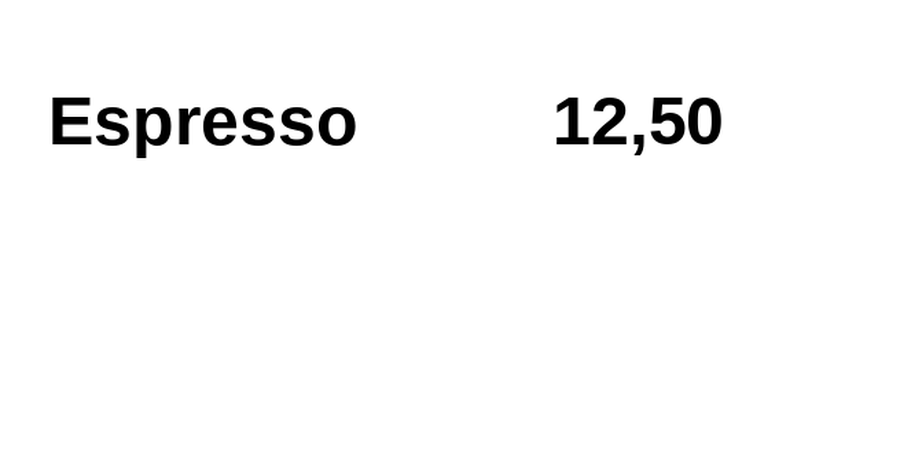
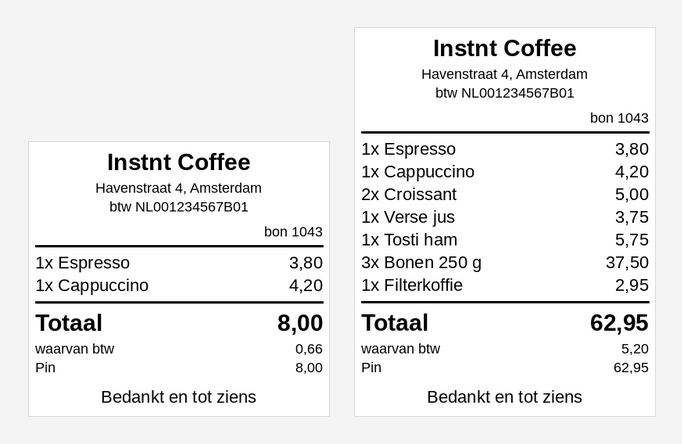
Write {{name}} where the value differs per print. A row or column can repeat over a list, so an order with five items becomes five lines — you design one line, not five elements.
What you see is what you get
You design on the area the print head actually reaches — a 25 × 54 mm label prints 24 × 50.3 — and the preview beside it comes from the layer that drives the printer. The fonts ship with the software, so it prints the same on every machine.
Codes that scan
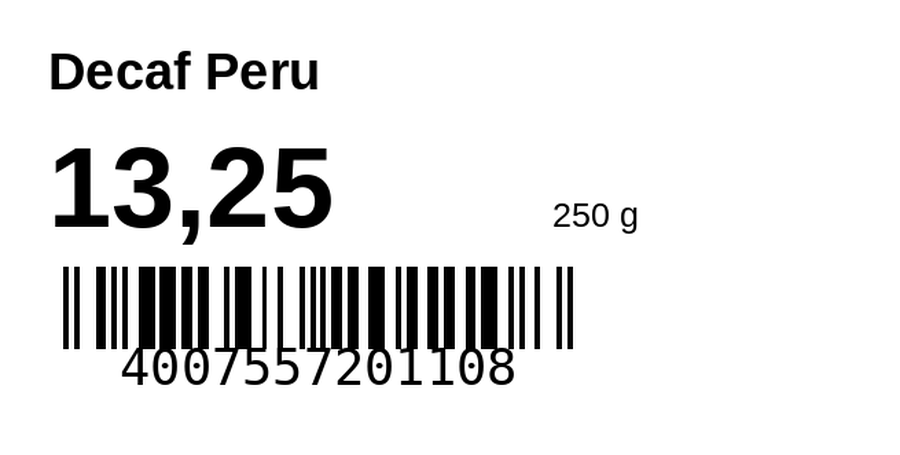
QR codes and barcodes are elements like any other, except a QR stays square whatever box you give it — stretched, no scanner reads it. Type a fixed URL and the real code appears on the canvas.
How a label gets made
- 01
Start with a template, or a blank sheet
Pick a size — 61 label formats, or a receipt roll — and start from a blank sheet or from one of the ready-made templates. Adopting one makes a copy, so you can change it without breaking anything.
- 02
Drag it together
Text, QR, barcode, line, box, logo. Drag from the palette onto the sheet, drop one element on another to group them, resize by dragging, and align with icons rather than dropdowns. Elements snap to each other and to the margins.
- 03
Send values, not documents
Your system posts the template name and the values; the server draws the label. Change the layout later and every system that prints it follows along — nothing to rebuild on their side.
Before you switch
Do I need to install anything?
No. Studio is a page in the dashboard, and there is no licence per workstation. On a phone the app is for choosing, filling in and printing — designing is work for a big screen.
Can I use my existing labels?
The rolls, yes — 61 DYMO formats are built in, including the ones with an odd printable area. Existing designs from other software have to be rebuilt; that is usually half an hour, and you end up with something that fills itself in.
What if I would rather not design at all?
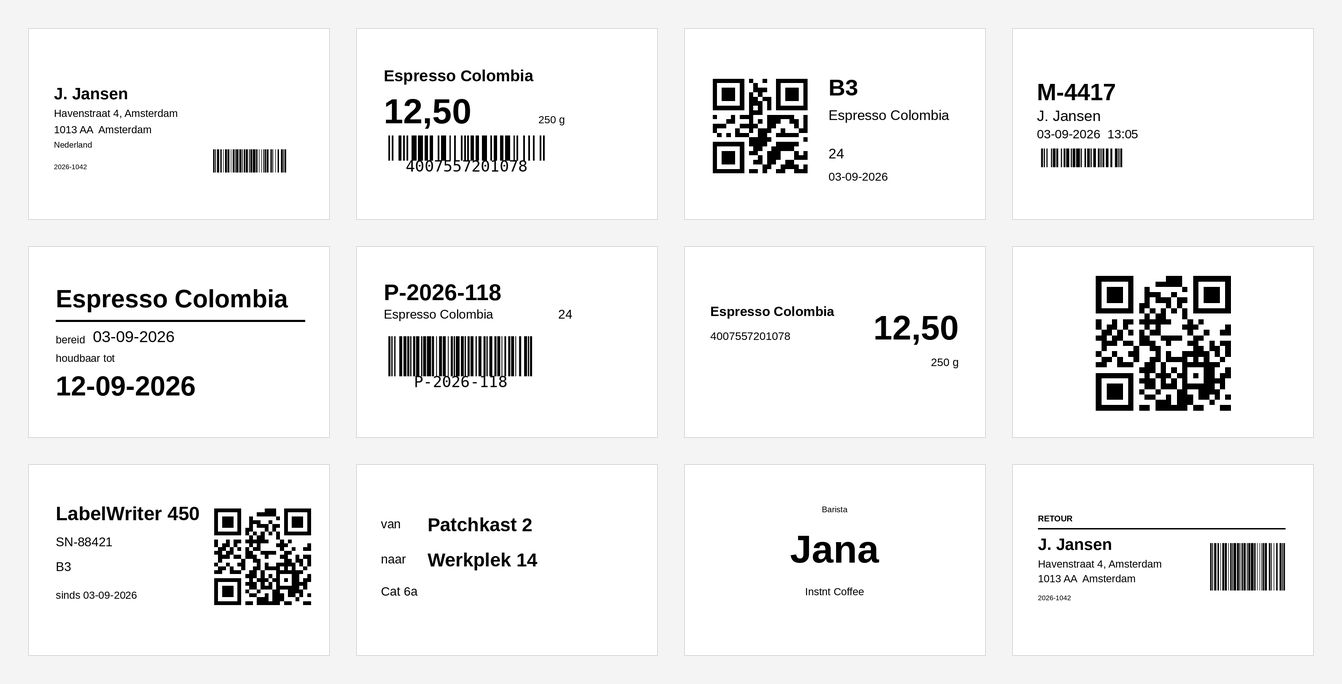
Then you do not have to. There are ready-made templates for addresses, shelf labels, sample labels and receipts, and you can also send plain lines of text or an image you rendered yourself.
Open Studio before you own a printer
Every account comes with a virtual bridge that renders jobs exactly as a real printer would. So you can design in Studio, print, and look at the result without anything being plugged in anywhere.